Repair of an Lg 50PA6500 HDTV

Life’s NOT Good LG

Sometimes your day of having fun repairing synths gets derailed. Today, one of the HDMI inputs to the main board in my TV broke off. The quality of the board is pure crap. Four thin metal legs secure the socket to the board and they are so short they barely come out the other side of the pcb. One of the 4 legs completely broke off. This is not the way to make an input connector.

20200628_141648_HDR.jpg
Low quality HDMI connector from the main board

Holiday Inn Express

If you have parts, tools, and time you can fix anything after watching a Youtube video. It’s like sleeping at a Holiday Inn Express- you wake up an expert on everything. I watched a video and immediately could see a TV is just a handful of boards all plugged together. Very repairable.

20200628_141434_HDR.jpg
HDTV Boards. The one just hanging there is the main board already removed.

The video also explained how to find the part number for the board- crucial!

Some sleuthing on websites found a couple of part numbers for this main board: EBT62218302 and EBR75290602. The part numbers are on a sticker on the board. There are many TV repair websites that will help you find the parts. Shopjimmy, tvpartscentral, tvtechparts. https://www.tvpartstoday.com/ had my part for a good price ($52, plus $16 for 2-day shipping). The TV model number is on a sticker on the back of the TV.

Opening the TV

Don’t cut yourself on the back covering of the TV. Other than that, manys screws, with one hidden in the middle of the video inputs. And you also need to remove the 4 screws holding the TV to the stand, so be aware that the stand will fall out if you move it after this.

Main Board Removal and Install

The board has four connectors, all different. The video explains how to remove them. The board is held in with four screws and a plastic cover plate for the HDMI sockets. To remove that from the pcb just carefully slide it off the edge.

Install is the same as removal and really simple. More importantly,

the TV works fine with the bad HDMI socket removed!

Yeah! Can still watch TV while waiting for the part to arrive.


Synthpop Lessons: Making “Dadtronica”

It started with a question: “Are the K4 drums any good?” This post in no way answers that question (but a future one will! Hint- YES), but it did start a chain of events. I began manually making drum patterns using the K4 and a Roland FantomXR (these have samples from just about every great drum machine Roland ever made) to explore different styles and make a library of loops to use. I use Cakewalk and sometimes make loops (groove clips) that are transposable and adjust automatically to tempo changes- great features.

I wanted to get some more drum pattern ideas so I went to my vinyl and put on Trans-Europe Express by Kraftwerk. Not as much drums as you might think. I listened to Europe Endless and wrote some notes:

  • very simple kick-snare pattern throughout
  • italo-disco octave jumping bass line
  • arpeggio with delay and maybe some extra quick notes
  • expressive lead
  • vocoder vocal

Simple formula. Song begins and ends with just the arpeggio. Other parts never really change. Perfect.

I programmed the drums, but realized I needed to spice it up a little. I used some different sounds from a techno kit on the Roland for the intro and to add a ride cymbal during the B part. The intro uses a really bizarre sample and hold sound that is very cool.

The bass line was next. I had already programmed an appropriately juicy bass on my MatrixBrute. It is a great synth and on par with a Moog Voyager, but easier to use. Octave jumping, bouncy bass is simple. I wanted more. This one moves more quickly- it does not just stay on the same bass note for several bars and then move to another. It is always moving. And it is not just an octave. It starts normal with a low-high octave jump but part way through I switch to jumping a ninth, followed by high-low octave jumps. You need to change things up to avoid being too robotic. If an arpeggiator can do it, I probably DON’T want it.

Next came the arpeggios. These are also non-standard and have to be played with your digits to achieve. The order of notes in the chords change and there are some extra beats. The sounds come from a K4 and a Korg Triton Extreme. The K4 is playing a simple beep (KLF Beep patch from the factory, for shame!). I recorded everything first on the K4, then thought I needed a different sound. I found a DV800 patch on the Korg, but it had way too much reverb so I cut that down. You probably have never heard of a DV800, AKA the Maxi Korg. Two voice analog synth from 1975. Used a lot by Kitaro. I have one on my workbench that will be great once I fix it up. I recorded the same track with the DV800 and then decided to alternate bars between the different synths. It makes the music conversational- two voices talking to each other.

The lead is on the MatrixBrute, of course. It has incredible modulation capabilities which make it supremely expressive. I needed a sound that would stand out from the sweet arpeggio voices so went to work on one that uses the filter envelope with key velocity control to change the tone heavily depending on how hard the key is struck. Adding in the resonance enables the sound to sort of speak/squeak. A typical affect you will recognize. I went with a very simple melody and repeated it heavily, though the playing of it varies a bit and show off the expressiveness of the patch. I manually adjusted the note timing (it is not just quantized) for a more human feel from the rough track I played. I also left in a “mistake” or two that sound good. I probably jammed over a loop of the other parts for half an hour before settling on the melody you hear. Playing gentle at the end changes the tone for a nice outro. The outro contains a reprise of the end of the B part, so it is already familiar. Yes, music uses foreshadowing.

That’s it. Just A and B part. Splash of reverb. 2 minutes of synthpop. All took less than 24 hours.


Day 1 Worst Polivoks Ever – 0685025

13 JUNE 2020 (actually, I just a few weeks ago ordering parts and cleaning things)

There are lots of clues about the Polivoks scattered all over the Internet. People making filter clones know quite a bit. Others have worked on the LFO or power supply.  I found out somewhere the keys are magnetic reed switches. I intend to coalesce information here as I rebuild the Worst Polivoks Ever. No telling if I will succeed, but this will help others no matter what and that is one reason I write about my synth repairs.

I have a polivoks. The circuit boards were covered in mold and under that, heavy corrosion of the traces. The potentiometer leads are rusted clean through. It makes me think it was stored under water.

This will take years.

To do list

  • learn cyrillic alphabet
  • learn to read soviet-era electronic marking
  • pcb trace repair (more like reconstruct)
  • by more solder
  • DIY pcb construction (you never know)


Decoding Soviet Electronics Markings

First off, Russian uses plain old Arabic numerals (which don’t look at all like what is actually used in Middle-Eastern countries, by the way), so that part is easy.

How do you say microfarad, tovarisch?  MKϕ   Volts are indicated with the letter B, so 16B is 16 volts.

Thin square capacitors are ceramic. 3H3 in Cyrillic is 3N3 which is 3.3nF  (so H = nF)

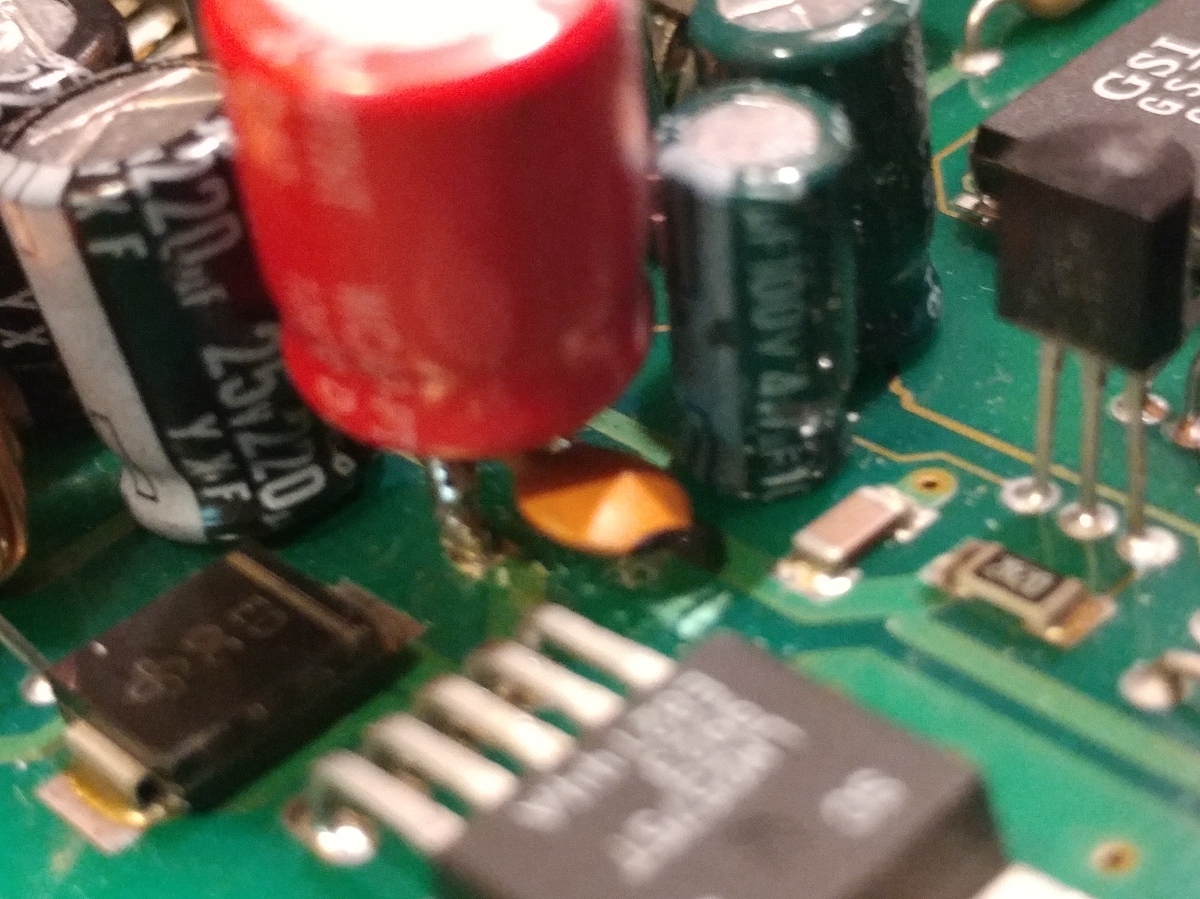
There are many fat capacitors – mica, I think.

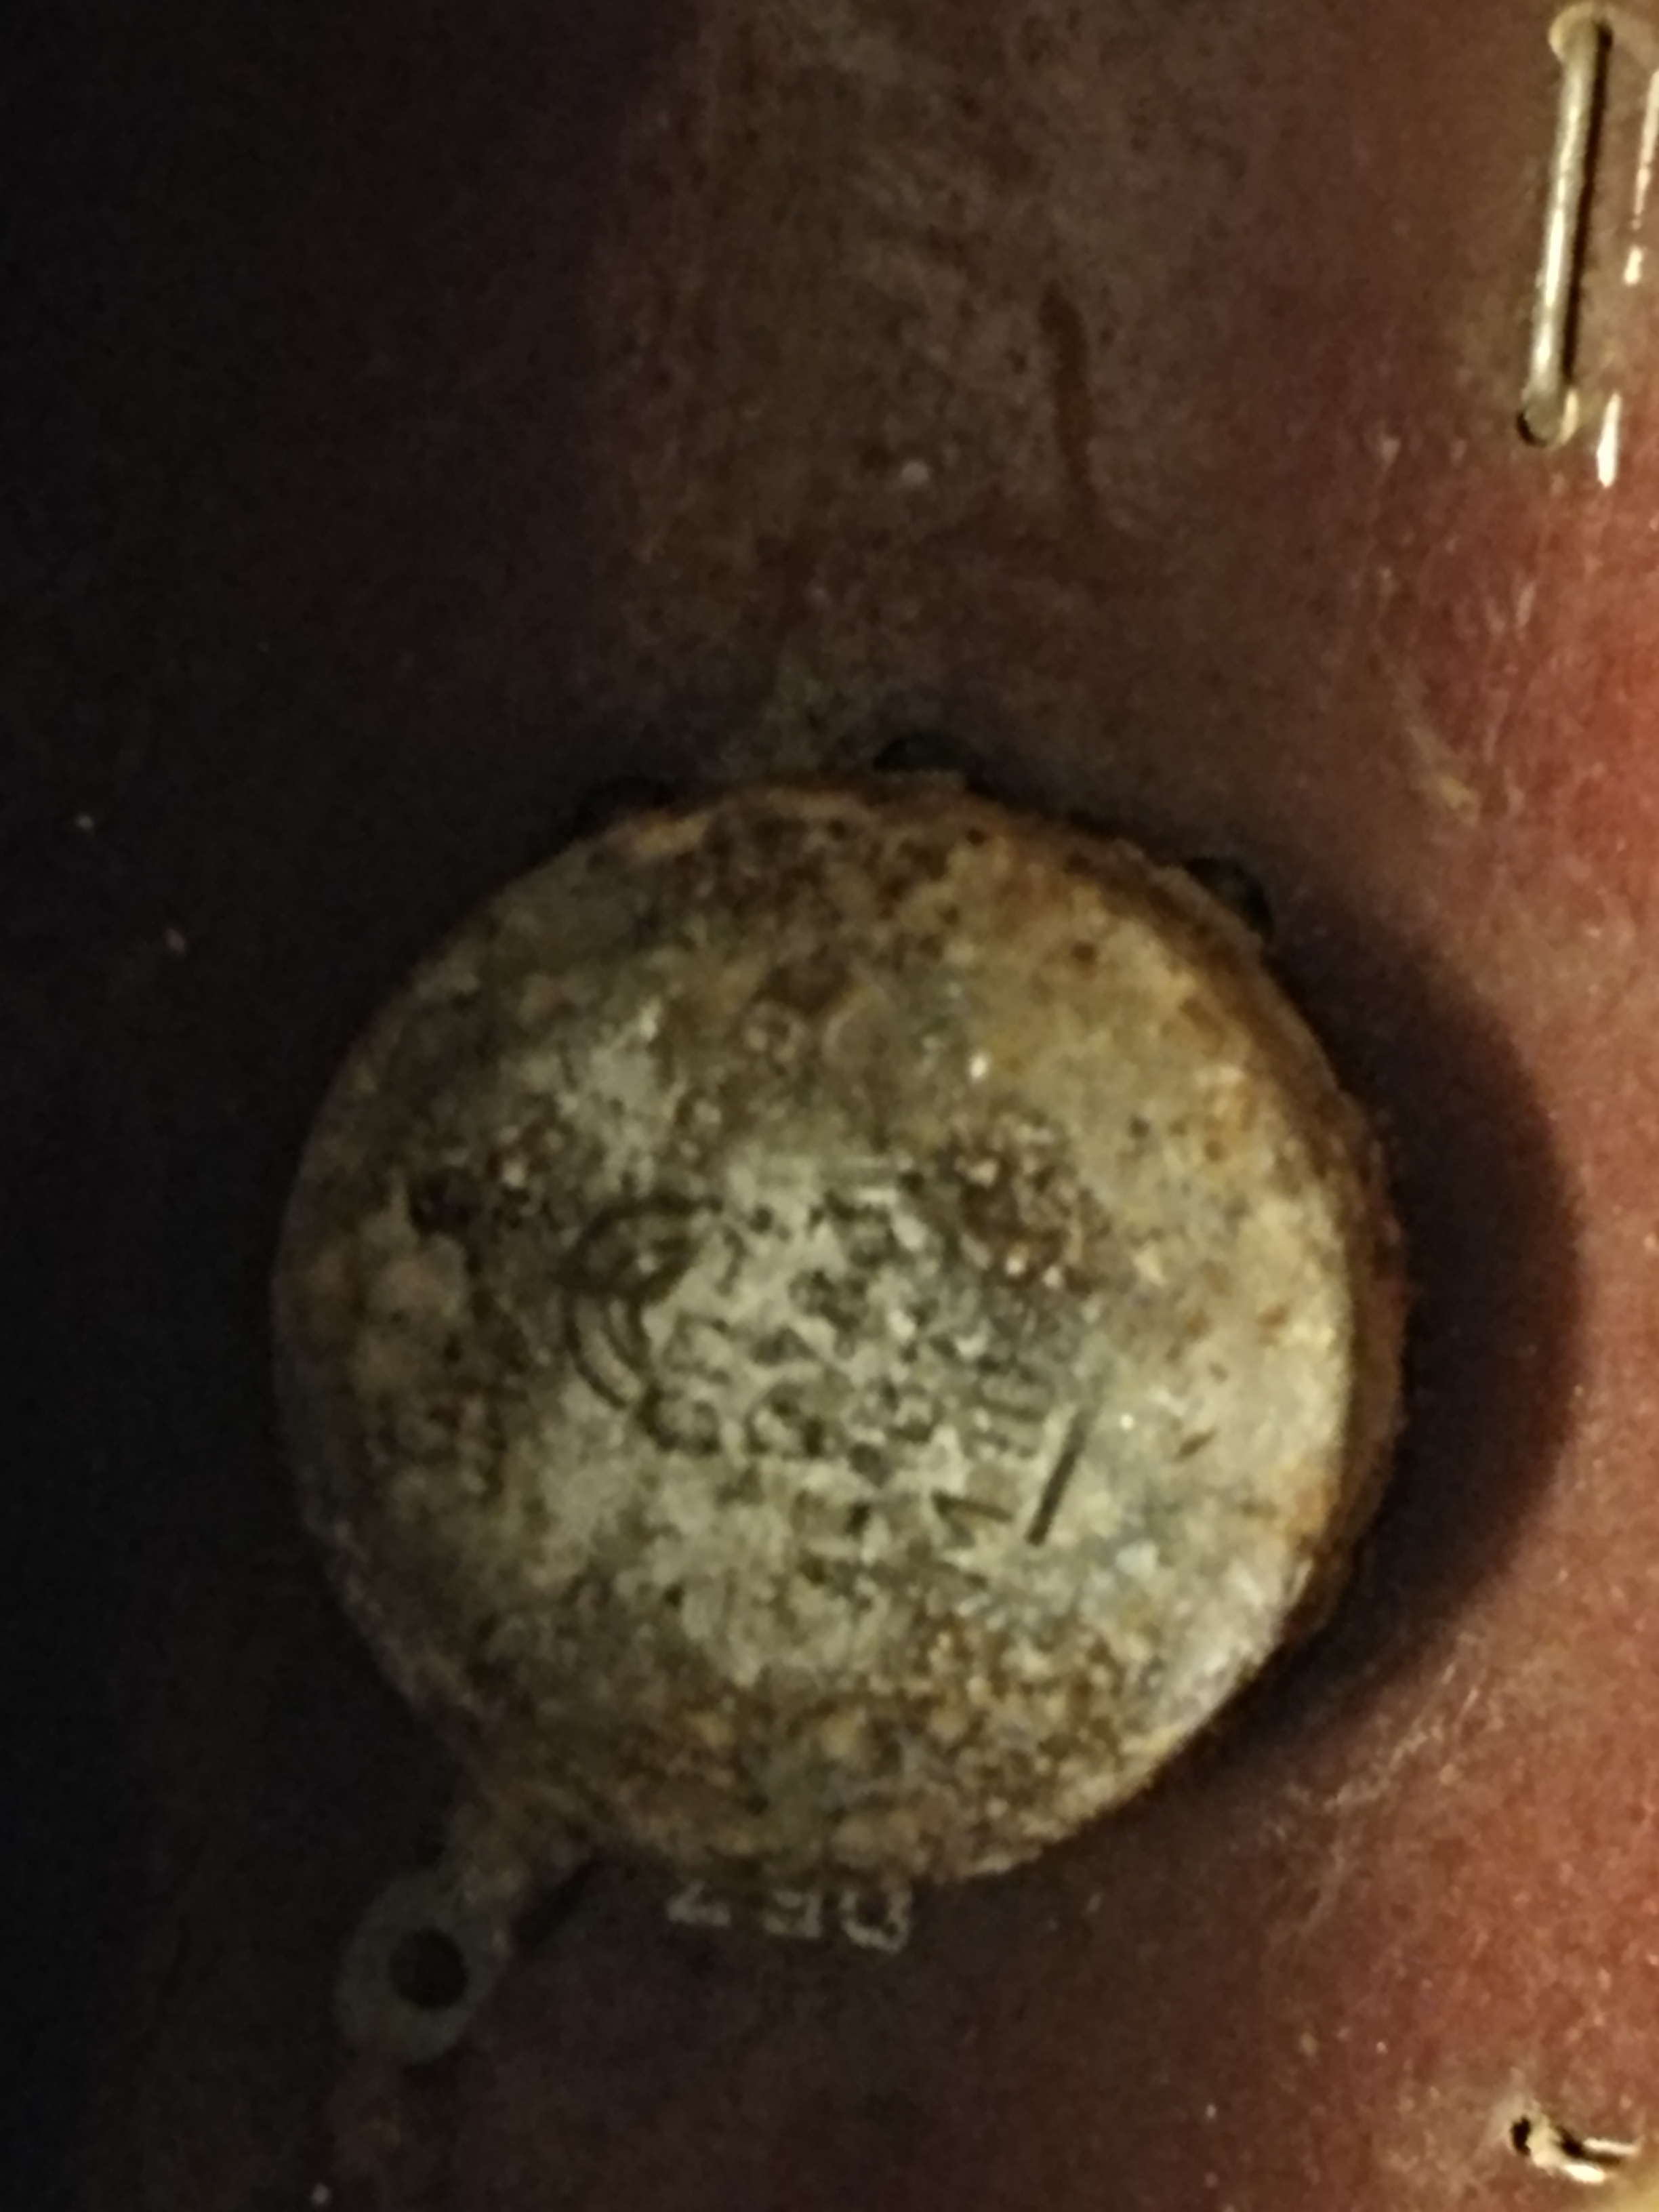
Found an odd silver-mica capacitor attached to the old AC transformer which I am replacing.

Transistors have extra non-alphanumeric symbols on them in the polivoks. Swell.

Resistors are a pain. On just one polivoks pcb I see resistors with 4 different types of markings, only one of which is standard stripes. Luckily, for most you can just read them to figure them out or see if gone completely bad.

Diodes look like diodes- often marks. Maybe a polarity stripe or dot. Go with size since that indicates power rating. So diodes for a full-wave bridge rectifier are fatter and not little glass ones.

PCB’s

They are labeled by the female socket. Matching label by the male pins they plug into. Labels are inconsistent and not in order (X7, X5 4, missing, etc.).

X7 is LFO board.

The pcb traces (once the white mold is cleaned off!) are horribly tarnished/corroded.


Knobs and Pots

The good news is I have all the knobs. Bad news is the pots are so corroded that the most of the metal leads are completely rusted through. I bought an entire new set of Polivoks potentiometers from the VG-Line store on Reverb. They are in Moscow and also have many Polivoks parts they do not advertise. Just contact them if looking for something special.

20200515_211734_HDR.jpg

Da BOM

25 identical IC’s. Dual voltage opamp. Translating symbols to English, they read KR140UD8A  (extra four digits on second line on IC’s appear to be MMYY, 0884 for August, 1984)

Some schematics say KR140UD8B. Maybe a TL071? Pinout matches perfectly. Now if only the Soviets had used 2.54mm pin spacing vice 2.5mm- got to bend everything to fit!

Found on Amazon(?!?)

KR140UD8A Microchips are the operational amplifier medium accuracy with the output FETs pn junction and p-channel, with internal frequency compensation and low input currents. Pin assignment KR140UD8A: 1.5 – balancing; 2 – inverting input; 3 – the non-inverting input; 4 – voltage -Up; 6 – exit; 7 – Power + Un Supply voltage plus minus (13,5 … 16,5) In Input common-mode voltage of not more than plus minus 5 Input voltage is not greater than 10 Load resistance of not less than 2 kohms Load Capacitance 100 pF Ambient temperature -45 … +70 ° C

Russian ICs K140UD12 (audio)  – UA776? (this is the 8 pin metal can form factor). Obsolete.


HELP SITES

https://en.wikipedia.org/wiki/Soviet_integrated_circuit_designation

https://www.eevblog.com/forum/chat/weird-unusual-looking-components/

http://muztech.com/ – website of the Polivoks designer. Some good info!

https://www.muffwiggler.com/forum/viewtopic.php?postdays=0&postorder=asc&start=225&t=119115

http://m.bareille.free.fr/modular1/vcf_polivoks/vcf_polivoks.htm

more info

http://www.belltonesynthworks.com/blog/2018/11/10/formanta-polivoks/

http://analog-monster.blogspot.com/2013/09/polivoks-lfo-faulty-reply-to-ott-suurtee.html

https://www.keynotesupport.com/internet/special-characters-greek-letters-symbols.shtml

https://modularaddict.com/catalogsearch/result/?q=polivoks

https://modularsynthesis.com/kuzmin/polivoks/polivoks_vcf.htm


Access Virus B- fixing root cause of common capacitor failure

Ripple Current

You can fix something and it may last for many years, such as replacing the one capacitor that goes bad in many virus b synths (see my post ). It could last as long as the original but does not address the root cause of the failure, which can also cause DSP damage. I heard about this from a smart tech on the Facebook Vintage Synth Repair and Mods group so decided to take his advice and do some investigation to learn more and share with my readers.

Ohm’s Law

The problem has to do with the relation between power, current, voltage, and resistance. Ohm’s Law states:

Voltage = Current × Resistance.

We also know that Power = Voltage × Current

Replacing voltage using Ohm’s Law tells us that Power = Current × Current × Resistance, or simply I squared R. I am over-simplifying a little but this tells you how much waste heat is generated in a component, like a capacitor. Or at least how to reduce the heat that causes wear and tear of the capacitor. But you are saying capacitors have resistance? And what current? The capacitor that goes bad is connected to ground. The current in question is the AC Ripple Current. The resistance is the Electrostatic Resistance (ESR) rating of the capacitor.

Lower the ESR and you will get less heating and your capacitor will live long and prosper. Low ESR capacitors are also known as “high ripple current” capacitors. They cost a little more ($2) but they are better in certain applications, like the virus b. The one I bought was an Aluminum Polymer Capacitor from Wurth Elektronik(via Mouser). It is a tight fit- I had to bend the capacitor over sideways, so you may want to try and find one a little shorter.

The one that fails in the virus b is a decoupling capacitor since it is designed to let DC pass by but send AC to ground. It has a very interesting high frequency AC ripple that you can see in my video.

So how do you get rid of the ripple? More decoupling capacitors installed in parallel. You can do some math to figure out what capacitance you need for the frequency of the ripple or you can just stick in a little one (10 picofarad) to get rid of high frequencies and see what happens. I soldered a capacitor between the legs of the main one and it worked. The magnitude of the ripple dropped (less voltage to drive current) and the frequency went much higher. This is all shown in the video.

Now my capacitor will outlast everything else in my virus b!